Site Creation |
This article explains how to create an application site with Packflow.
Start Packflow Manager and select the server you want to create a site on.
Click on the "Create Site" button on the top right of the server form.
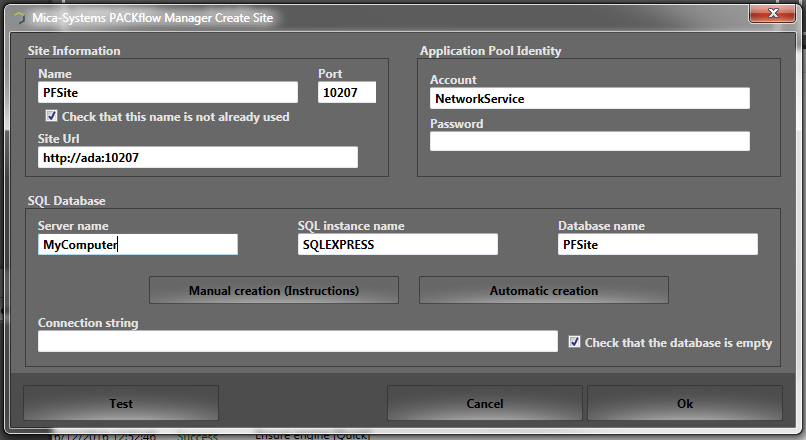
Site Information
Application Pool Identity
Choose an identity for the site (application pool). We highly recommend to choose a dedicated user, not having any other permission.
On production environments, this identity should be different of all other sites' identity.
On developer environments, the use of NetworkService is appropriate.
System identities (such as LocalSystem or NetworkService) do not require a password.
SQL Database
First, you have to provide the names of the server and SQL instance that will host the database.
Of course, the name of the new database cannot already exist in the target SQL server.
On developer environments, these parameters are filled with default values.
If you current account has sufficient rights on the SQL instance (typically the case on devloper environments), you can use the automatic creation. It will ensure the logins, database, schemas and permissions. Once completed, the connection string is written in the last field.
Else, you can execute the manual steps described in the dialog shown when you click on the "Manual creation" button. The connection string will be inserted after the dialog validation.
When all settings are provided, you can click on "Test" to check them.
Then, click on the "Ok" button to start the creation.
A dialog is displayed, showing the progression of the site creation.
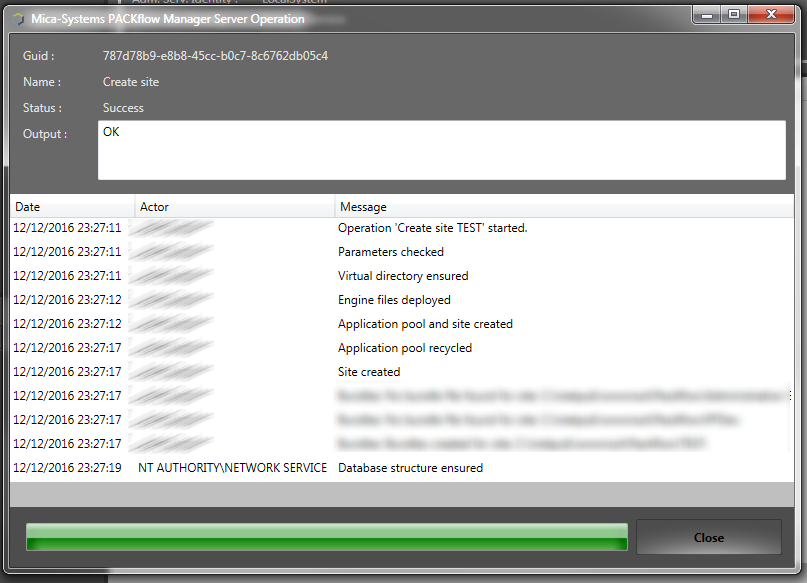
Once completed, the site is ready to host applications.