Google Authentication |
This aims to explain how to set up Google OAuth2 authentication along with Forms Authentication.
This topic contains the following sections:
- Overview
- Prerequisites
- Configuration
- See Also
Instead of validating Forms authentication users with username and password, Packflow's login page can use Google OAuth 2.0 API to authenticate a user, by matching emails.
Activating this feature adds single sign-on comfort and requires very little configuration.
| By default, only users pre-existing in the Forms Authentication user store are allowed to login. This requires white-listing the users of the application. This mechanism is a default implementation, but custom login pages can be used in Packflow. This makes possible to provide auto or self-registration, as well as querying other OAuth authentication providers, or using no intermediate user store at all. |
Site needs to have a configured Membership Provider as an account store. See this page for details on how to set it up.
Site has to be hosted on a public domain, for Google API registration.
SSL/TLS is strongly recommended to avoid most security risks.
Here are the required steps to enable Google Authentication along with Forms authentication.
Create a Google Api key:
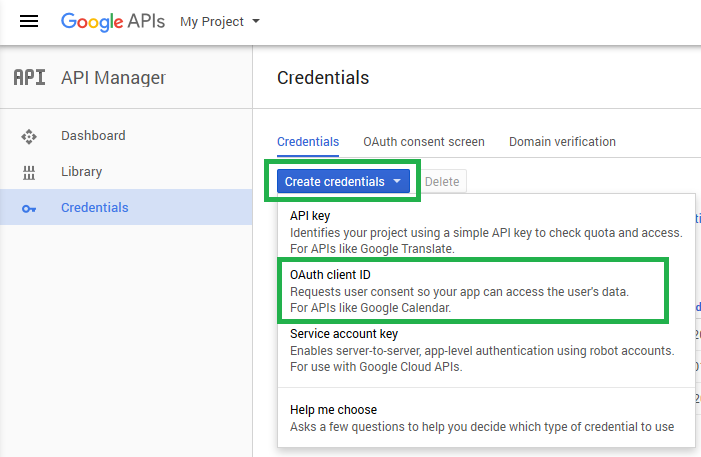
Visit this url this url to create a OAuth client ID. This ID will be used by Packflow to validate authentication codes and retrieve basic profile information.
Click 'Create credentials', then OAuth client ID.
In the next form, choose 'Web application'.
Enter your site's public URL and login page URL.
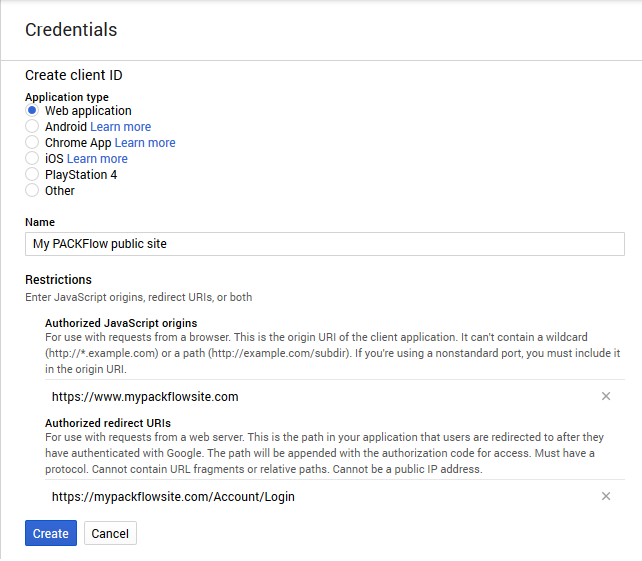
 Note
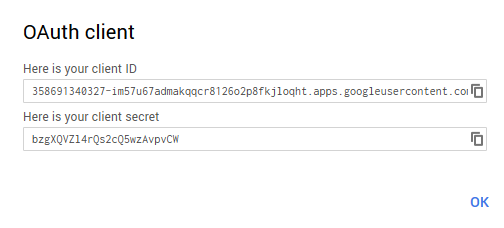
NoteIt is important to provide a valid public domain. Public IPs are not allowed. For developer configuration, visit Xip.Io to circumvent this limitation. You will be given a Client ID and Secret Key allowing your site to query Google servers.
 Important
At the time of writing, we often encounter a bug in Google's API Credentials page. Once a web application Client ID is created, changing the authorized Urls and saving the entry won't have any effect. You have to delete the Client ID and create another one to change URLs. -
In your site's virtual directory, rename the
Sample.Web.config located under the 'Account' folder into Web.config .
Replace the values by your Client ID, Secret Key, and email address whose API credentials were created with.
Code should look like this:
XML
<?xml version="1.0"?>
  <configuration>
      <appSettings>
          <add key="google_clientId" value="Client_Id_Here" />
          <add key="google_clientEmail" value="yourAddress@google.com" />
          <add key="google_clientSecret" value="Client_Secret_Here" />
      </appSettings>
</configuration>
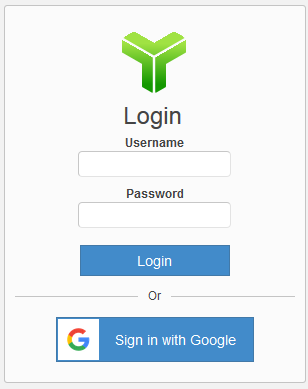
Visit the Site Settings page under [YourSiteUrl]/Administration/Settings. Check 'Enable Google OAuth with Forms Authentication' and save settings.
Default login page will now allow users to sign in with Google.